Adobe CQ uses namespaces to maintain modularity between the properties and also tags. namespaces help in distinguishing different modules of the project. We create thousand of properties in our project and many times it consists of just words. Hence to make the properties names meaningful we can add a namespace to project related namespaces.
Note that the namespace is unique to your project and doesn’t conflict with existing namespaces.
Steps for creating Custom Namespace:
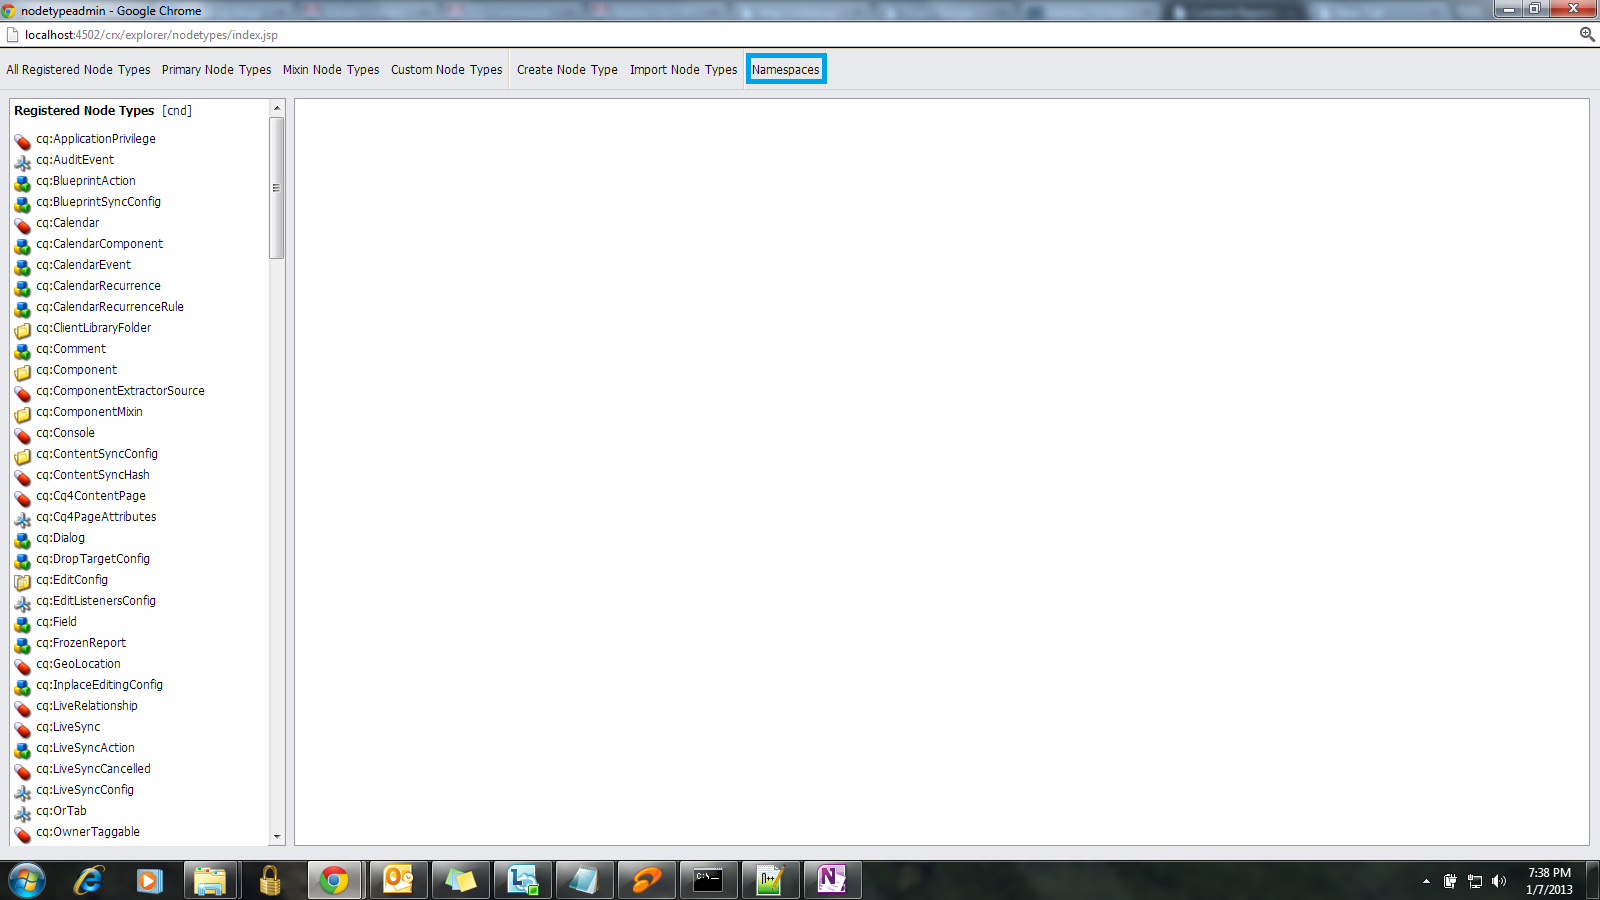
Step 1: Log into CRX and follow this path: http://servername:port/crx/explorer/nodetypes/index.jsp or click on Node Administration link from the CRX Console.
Step 2: You will be navigated to the below screen. On the left panel, all the node types will be displayed. Click on the Namespaces link on the right as displayed below:
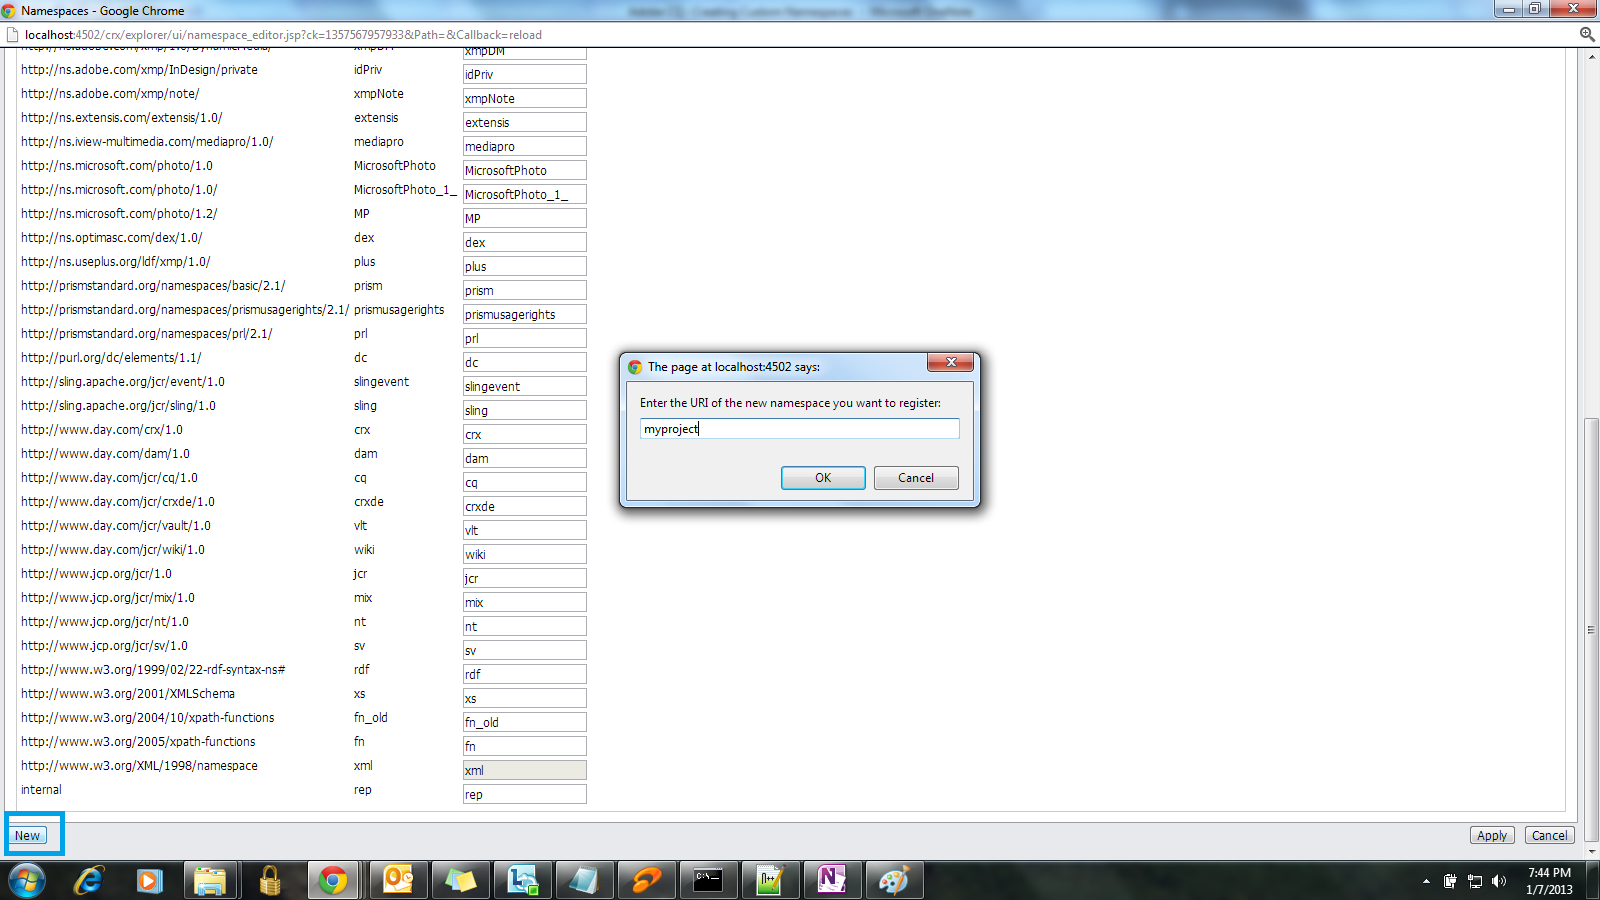
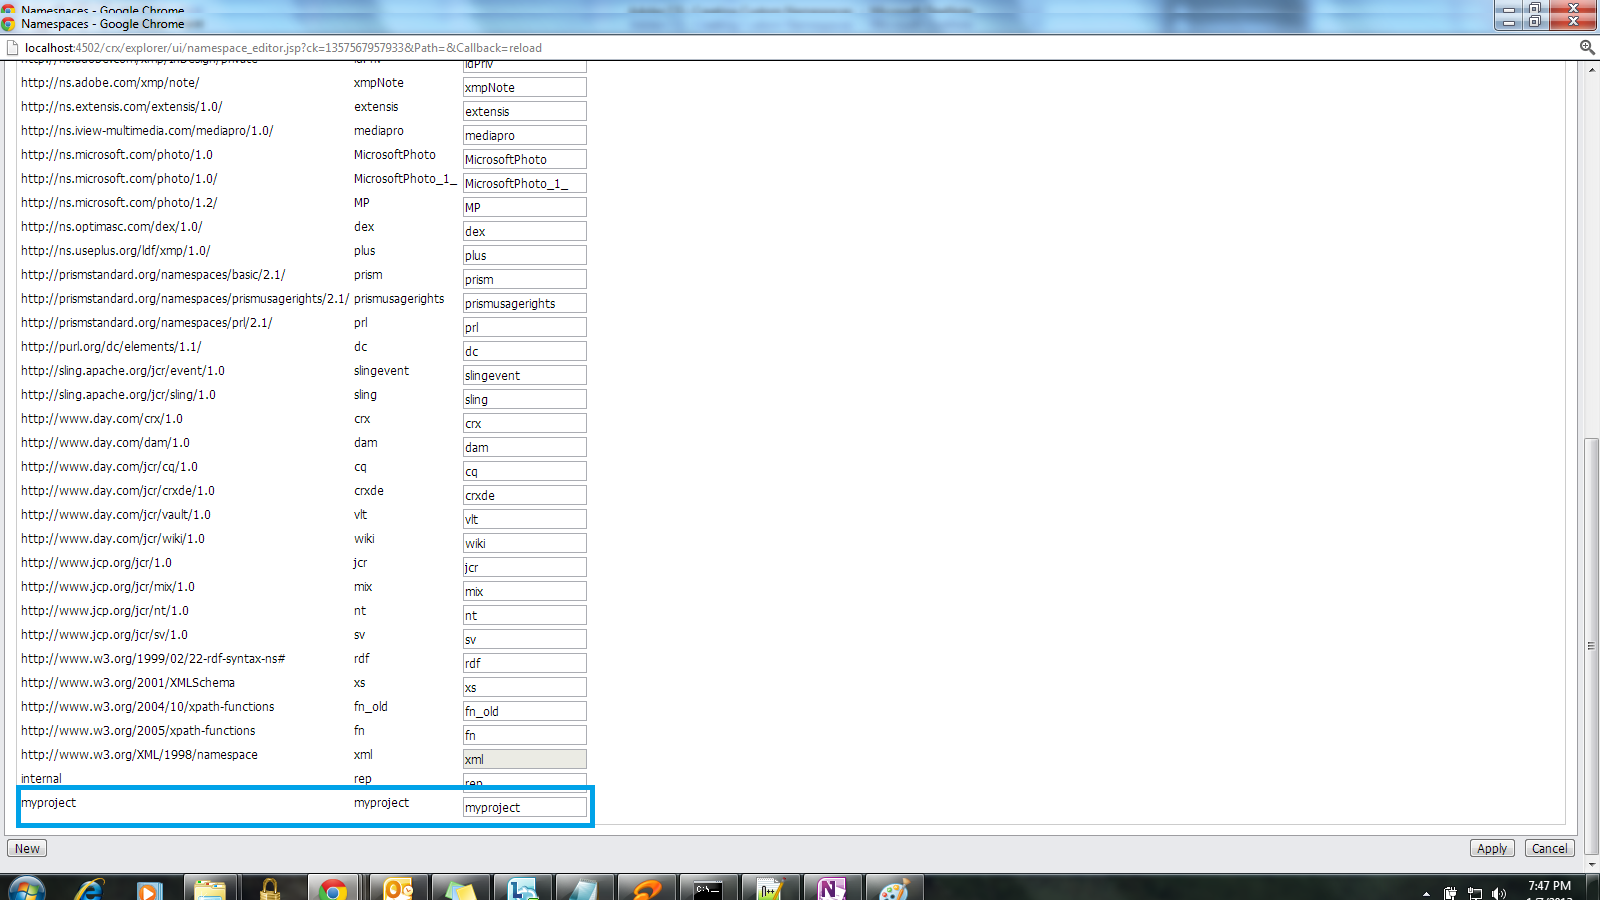
Step 3: Below screen will appear and click on New button and enter the namespace URI and prefix . The namespace provided below is just an example.
Step 4: The namespace will be created and it can now be used in your project.
Let me know if any questions.
Hope this helps. Thanks!

Leave a reply to Niharika Bhattraj Cancel reply